Simple and Manual LED Acrylic Sign Project
A bit out of the discussion of electronics, but still on the basis of electronics that how to apply the LED circuit in acrylic field. This is a Simple project on making LED acrylic sign. So I will share tips how to make it step by step. What is required and how to make use in LED acrylic sign.
First, this part and tools you need to making LED Acrylic Sign:
- Acrylic on image using Acrylic 10cm x 20cm
- Some Cable to connect LED with Power Supply or Battery
- LED Strip's or you can assembled LED circuit, i will describe below.
Tools :
- Pencil to draw sign on Acrylic Field
- Sandpaper to sandpapering acrylic sign
- Ruller to scratch that sign exactly at the right position
- Cutting Plier to cut the cabel
- Cutter to cut the wrapping layer of acrylic on the sign
- Solder and Solder tin to soldering cable with LED Strip's or Assembled LED Circuit
If the parts and tools are ready , let's create a this LED Acrylic Sign simple project and so manual !
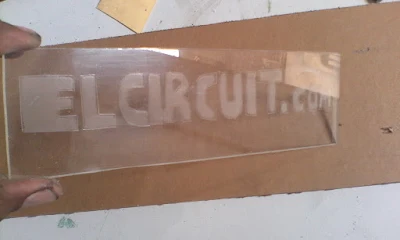
Take acrylic and drawing sign in reverse, in the picture below I write elcircuit.com in reverse. This function to mark the acrylic wrapper to be exfoliated. in the next step.
After you mark, peel the parts that are not exposed to a pencil.
And if the acrylic is reversed, that text "elcircuit.com" is clearly visible
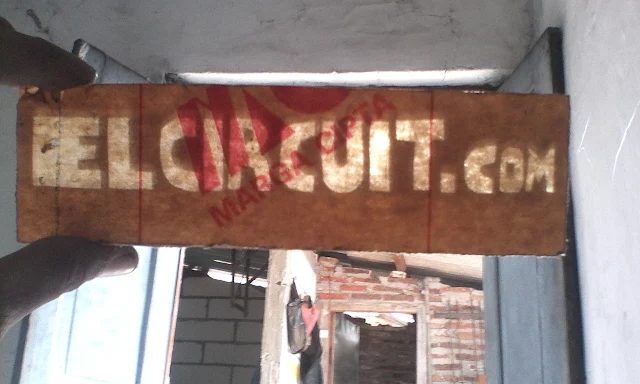
Then rub using sandpaper, on the part of the sign. This function to refract light LED, so that the LED illumination only on the sign.
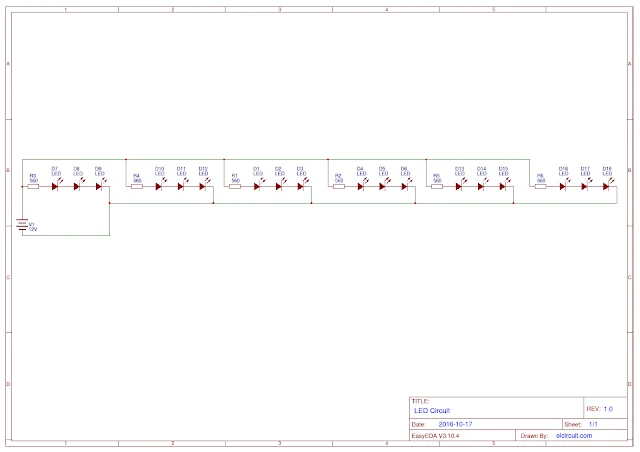
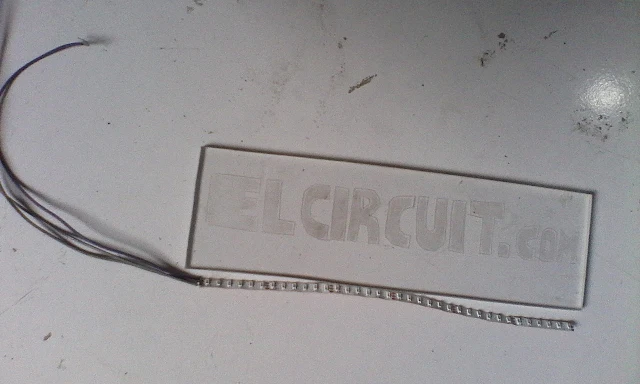
Install the the LEDs on the bottom, here I am using LED Strip, if you want to use LEDs individually, use a small 3mm Assembled LED by circuit schemes below.
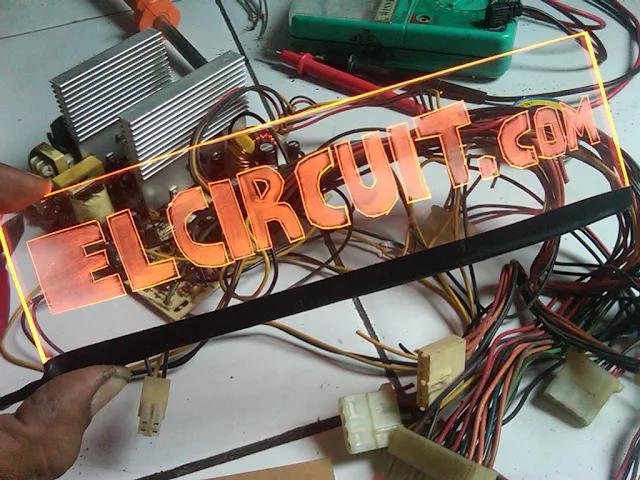
And if the LED is already neat, supply using a 12 Volt DC voltage.
Making of LED Acrylic Sign already done !
.jpg)








Post a Comment for "Simple and Manual LED Acrylic Sign Project"
Dont use outgoing links!